|
Probably not, but with the crazy weather Indiana has been having, you can sled on Earth in April! Last summer I attended the Science Learning through Engineering Design (SLED) Summer Institute. SLED is a Purdue University program funded by an NSF Math Science Partnership and is a true collaboration among several schools and departments. It was a great hands-on experience and I took a lot from it; including how to set-up and use a notebook, vocabulary and the overall SLED structure. SLED is targeted for 3rd-6th grade students, but I definitely think it can be used in other grade levels. SLED has curriculum available for many different science and engineering standards. The curriculum available is great, but what I find the most value in, is the structure and questioning. The structure is simple, yet powerful. The best part is how meaningful and interactive it is for the students. I've been able to see this firsthand. The collaboration and conversations students have with each other is awesome!! SLED allows each student to be individually involved in their learning while also working with their peers. Students have to make choices and defend their decisions. The structure and terminology remains consistent regardless of content or standards being covered. I have been able to co-plan 2 units with my awesome coworker Jaime using the SLED structure and incorporate space exploration! The first unit was Lunar Landers about a month ago and the second unit is next week. It's all about the Voyager Spacecraft and the Golden Record! Stay tuned for updates on that. We're really excited about it!! Lunar Lander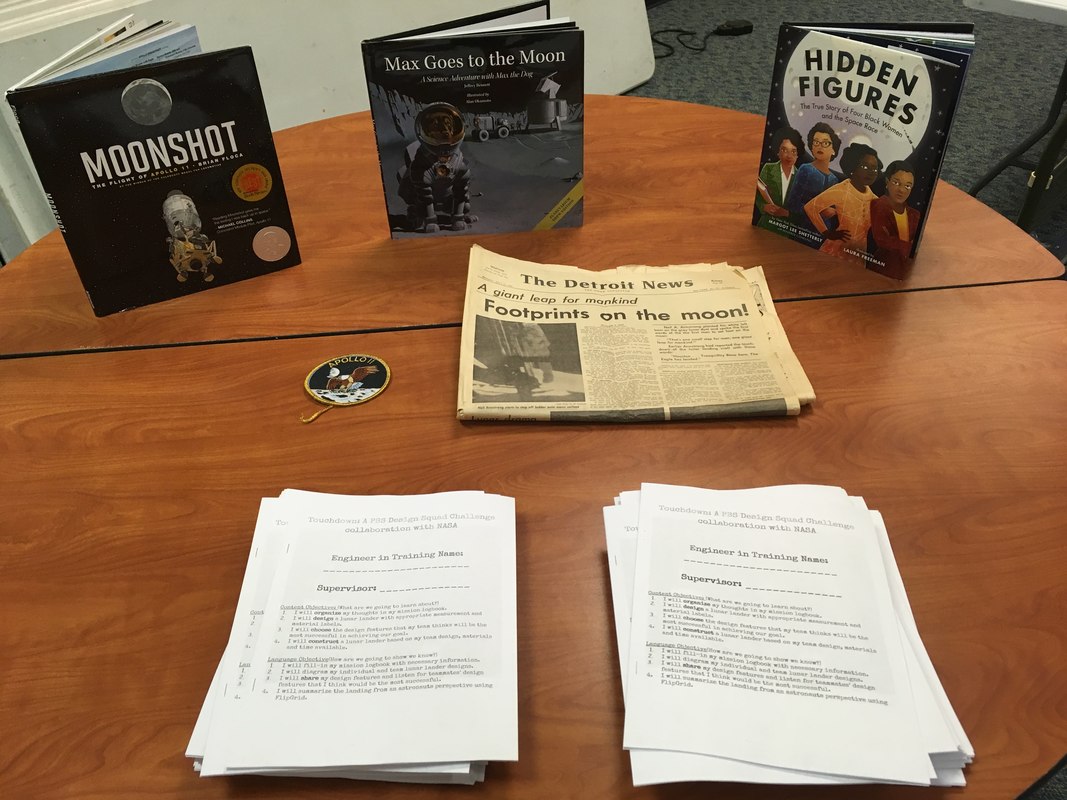 My awesome, former coworker, Steve taught me that kids are more excited when you set the scene. Students grabbed a logbook from the table when they walked in on day 1. The Lunar Lander lesson we modified was a NASA PBS Design Squad Challenge called Touchdown. It is one of six space-themed engineering design challenges in the On the Moon Activity Guide. Our modifications included putting the activity in the SLED structure, utilizing the LAUNCH Cycle (Design Thinking Framework) and Innovator's Compass. Exploring Beyond (2:36) - NASA Johnson This is a great video to get kiddos hooked. I saw it for the first time at a Space Center U Teacher Professional Development at Space Center Houston last summer. SLED STructure1) Design brief - Create a short story that gives meaning, purpose and connection to the activity. Students read a couple paragraphs to determine background information. 2) Identification - Using the design brief, students identify the following & record it.
4) Team Design - All teammates share individual designs and provide ONLY positive feedback. Best way to do this is to have a time limit (1 min) and review expectations for this process.
6) Test - Each team tests their design. *Determine how design will be tested BEFORE testing. 7) Communication - Share results
8) Improve and redesign Check out the Kiddos in ActionAssessment OptionsThis whole design challenge process is a performance assessment. A) Formative Assessment happens throughout this process with the logbook. - Observing student designs and asking them to explain the different features and why they chose them. - Listening in on team design brainstorms. It's a great way to evaluate team dynamic, group member's collaboration and students' abilities to persuade, defend and support their ideas. B) Summative Assessment - Checkpoints - Team Design Data - Did the design meet the requirements, constraints and solve the problem? - Science content -> How is the student able to explain? - Overall Evaluation Rubric - Redesign -> How did they makes changes to improve their design? Instead of using a notebook, we used the SLED structure to create a logbook for students to fill in. Each day we had mission checkpoints. After testing, students also answered journal entry questions to reflect on the process. Students recorded a FlipGrid video to describe their lunar landing from the astronaut's perspective. **I will be adding our logbook to my TPT store. Tech Tool: FlipgridThis awesome tech tool was also introduced to me at Space Center Houston last summer. It is FREE for educators! At first I wasn't sure how I would use it with my kiddos, but it's a great tool for your toolbox. It gives students another way to respond. You create a grid, give students the code and they can record their own video response to questions or prompts that you ask. Like many new tools, especially technology, I would highly recommend reviewing expectations, appropriate responses and commenting, etc. I tell my students that technology is a privilege and they need to use it correctly as an educational tool. *Note:It does requires a device with a camera to use. Settings/Options - Moderator - Allows you to view student videos BEFORE they are added to the grid. - Design - Allows students to add stickers - Reply capabilities - View, rate, comment and/or record a reply post - Rubric and evaluate them. - The free version allows a maximum of 90 second record time. Students love talking with peers, sharing their individual thoughts and ideas, responding to others and making videos, so why not allow them to harness this excitement educationally? I hope that you're able to use some, if not all, of this in your classroom! I've been very happily busy co-designing and teaching projects that I'm excited about. Therefore, I am behind on updating my TPT store with resources. It's a summer project, if not before.
Peace, love and space exploration, -CAPCOM Conrad
0 Comments
|
AuthorApollo 13 fan. Educator. Lifelong Learner. Third generation Boilermaker. Space Exploration Enthusiast. Collaborator. 
Click Subscribe to stay updated!Archives
July 2022
Categories
All
|
 RSS Feed
