|
Part 3 Tiny Pixel - Image Revealed from yesterday's post...the Mission Patch from The Martian! 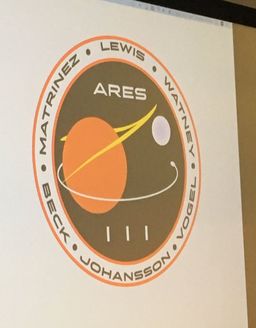 How Your Kiddos Can make a Hologram ViewerOverview
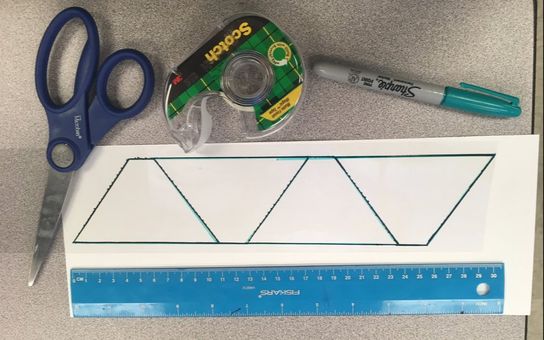 Materials
Directions
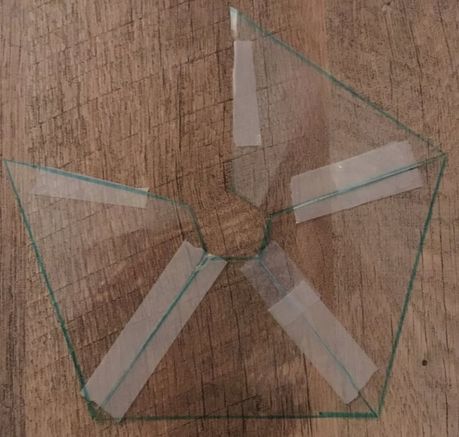
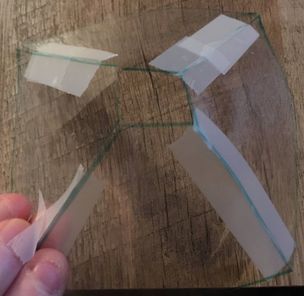
2. Place transparent material on top of template. Use sharpie and ruler to trace on transparent material. 3. Cut out trapezoid pieces using appropriate tool. 4. Affix trapezoid pieces together, so smaller sides are all at the top.
5. Place upside down on screen (so smaller square opening is down and larger square opening is up). 6. Use device to get hologram video. To view, look through the sides or trapezoid faces. The image on the screen should be visible inside your hologram! 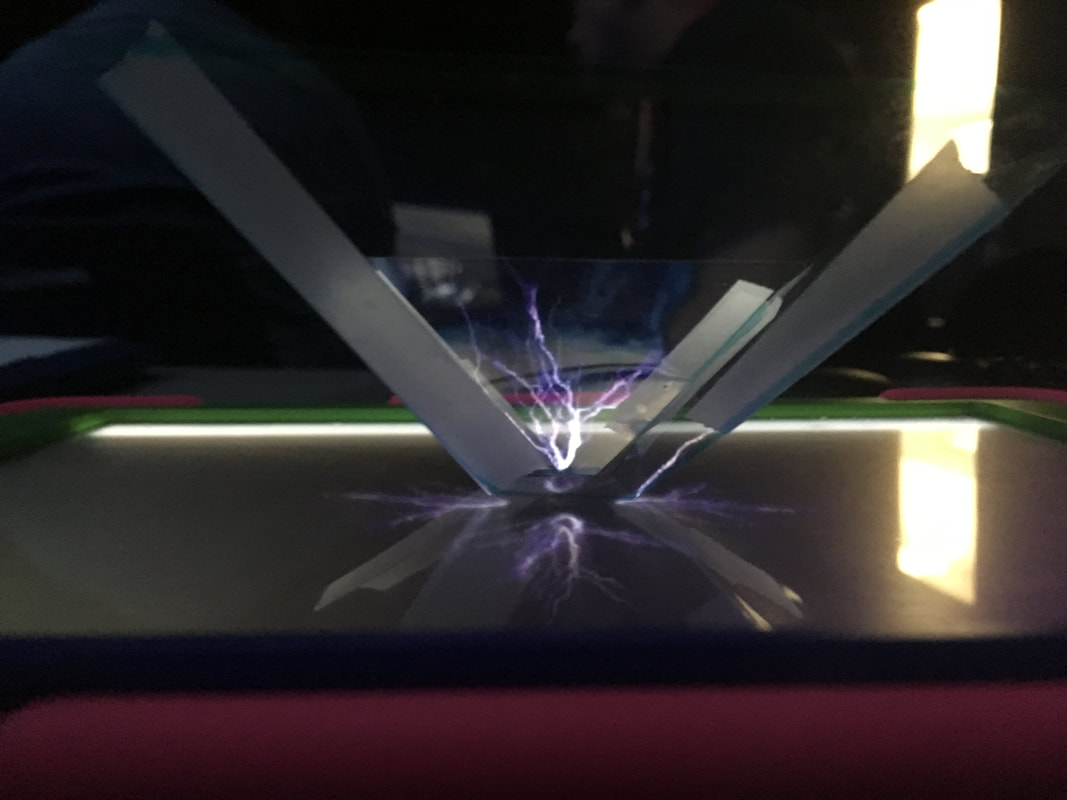 Check out the holographic lightning! Here's an illustration for how to make the viewer. Peace, love and space exploration,
- CAMPCOM Conrad
0 Comments
Whenever I hear the word satellite, I think of this song, Cecelia and the Satellite by: Andrew McMahon. Background Satellites are extremely useful tools that allow us to learn more about Earth- especially weather, precipitation, landforms - from a slightly different perspective. Satellites see things in pixels aka picture elements. 1 pixel = 1 square area on an image. Spacecraft use 8-bit data. This means that a computer can have 256 shades of gray...talk about being in a gray area! Binary code - series of 0s and 1s that tell a computer information - also comes into play. The binary numbers are used to determine the shade of grey represented. Later, a person interprets the shades of grey as colors and assigns colors to the images. These related Brainpop videos give more information about the topics and include activities, games, a quiz and a link to Newsela articles to read more! Comparing Pixel SizesAs the pixel size decreases, the resolution increases, making it easier to determine what the picture is. Part 1 (Larger Pixels) - Students put the colored paper in the grid square that has the corresponding number. 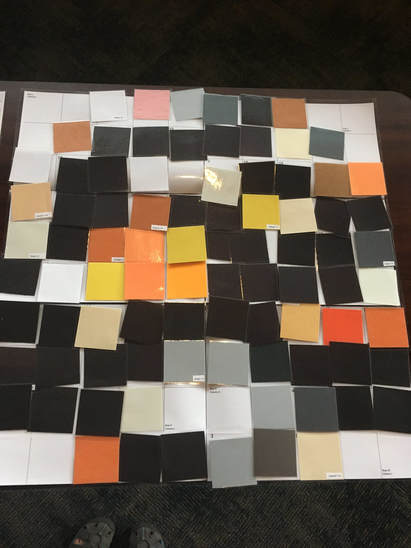 Part 2 (Smaller Pixels) - Students sort the pre-filled in grid segments to make a large grid. 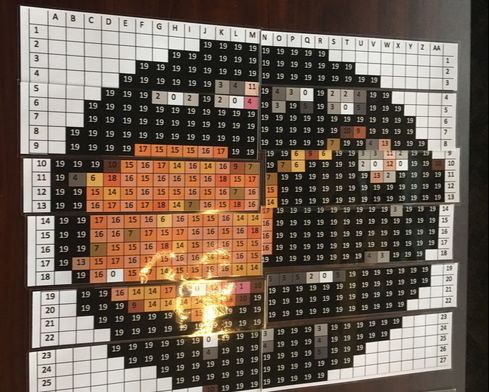 Can you guess what it is? Part 3 will be revealed tomorrow! Binary COde GridingOverview
Code
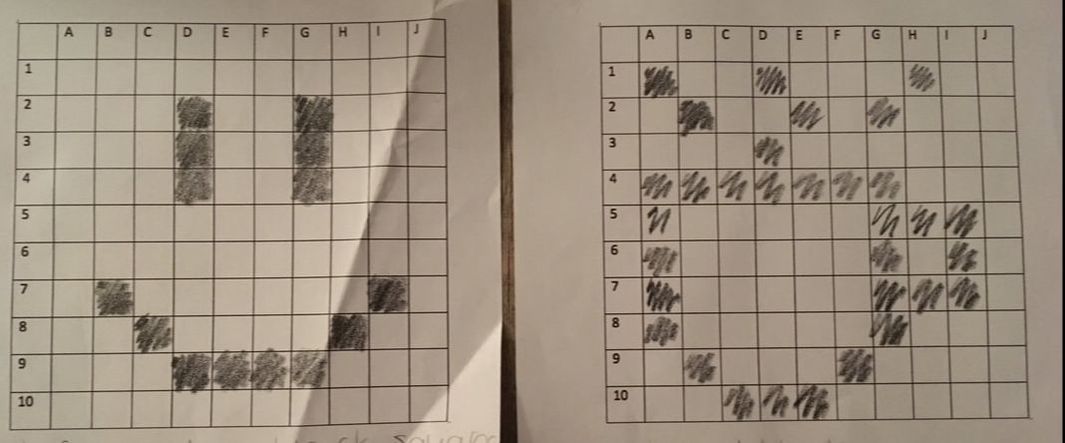 Some binary code grid examples. The code for the first row on the smile was all zeros. The code for the first row on the coffee cup was 1 0 0 1 0 0 0 1 0 0 . Roles -> Switch after a grid is completed.
Materials
1. Satellite choses one laminated grid from envelope, keeping it concealed from group members. 2. Satellite describes grid in binary code ONLY. Satellite should NOT tell group what image he/she sees on the grid. 3. Satellite can decide to go pixel by pixel or focus only on the shaded squares. 4. Each Computer receives a blank grid and black crayon or colored pencil. The Computers color in the grid squares based on the Satellite's directions. After the Satellite's directions are complete, Computers can determine image. 5. If group has an Engineer, he/she will get a blank grid. Using the computer's image, he/she will assign colors to black squares and recreate the image in color. 6. Roles switch and above steps repeat. How can I adapt? - Change the pixel images to fit something you're studying in class! - Have students design pixel images. Laminate and use them for the activity instead of printed or copied ones. - Divide a large pixelated image into smaller grids. Give each group a grid. Have all groups combine grids to determine overall image. - Have students determine fractions, decimals, percentages and ratios of shaded and unshaded pixel grid squares. This simple, fun activity is a great way to integrate art, technology, math and space into your classroom!
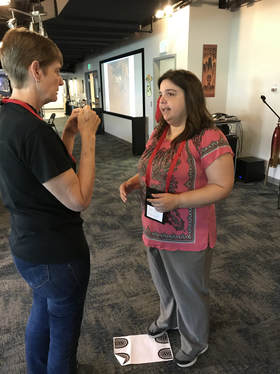
Peace, love and space exploration -CAPCOM Conrad I was extremely fortunate to be one of nine educators from around the country to receive a scholarship to attend an awesome three day workshop at the Space Foundation in Colorado Springs. It was my first time visiting and it did not disappoint! 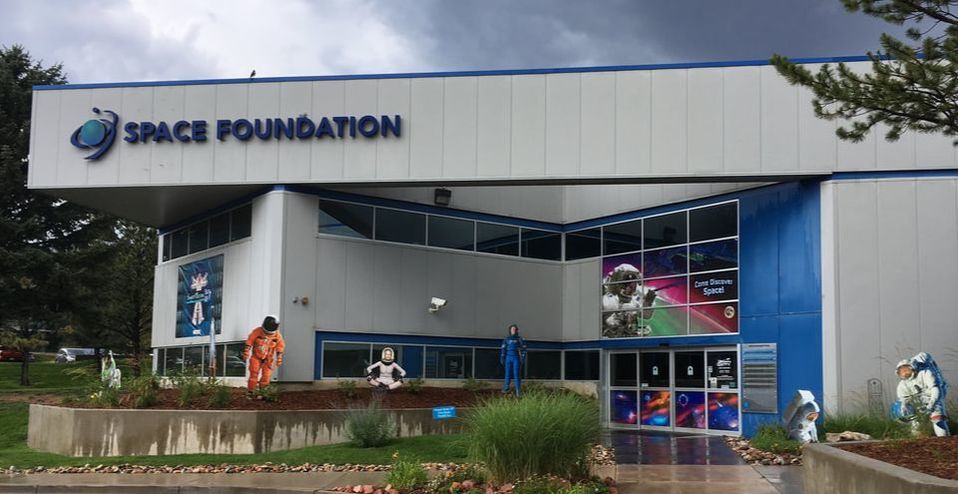 The Space Foundation Discovery Center's Current Theme is Suit Up. It is all about spacesuits and what is necessary of a suit for humans to survive in space. - If you live in Colorado, I would highly recommend bringing your kiddos on a field trip to the Discovery Center. - If you don’t live in Colorado, I would recommend becoming a Teacher Liaison. There are fore core areas of focus for teacher liaisons; Community Outreach, Teacher Education, Space Foundation Connection and Student Engagement. Applications for the next flight class are due November 23rd. The best part of the workshop, besides meeting rockstar TLs was how applicable all of the activities were to all of us. The TLs all came from different states, different school types, different grade levels and content areas; united by a passion for space education. The activities were exciting, hands-on and so much fun! My brain was constantly thinking about how I could bring this back to my school and share it with my readers. It was a jam-packed workshop, so I will be posting in parts. Each day for the next week, I will be posting an activity or group of activities that we did. I firmly believe that regardless of your excuse (grade level, content area, time, standards I need to cover, etc), you can incorporate space into your curriculum. My hope is that you'll be able to bring new ideas to your classroom and colleagues this upcoming school year! Copy THat, CapcomI’ve done a similar activity in my classroom, but this version was easier to implement with fewer materials needed. I was immediately intrigued by the title and thrilled when it began with the Apollo 13 C02 filter scene (see below). This is a great clip to spark students' interest and give them context for the activity and importance of a variety of skills including problem solving. Overview
* Students are assigned a role for each scenario, but they rotate among the roles throughout the activity. Roles
- unable to communicate directly with astronauts
- Cannot view main build or workstation build
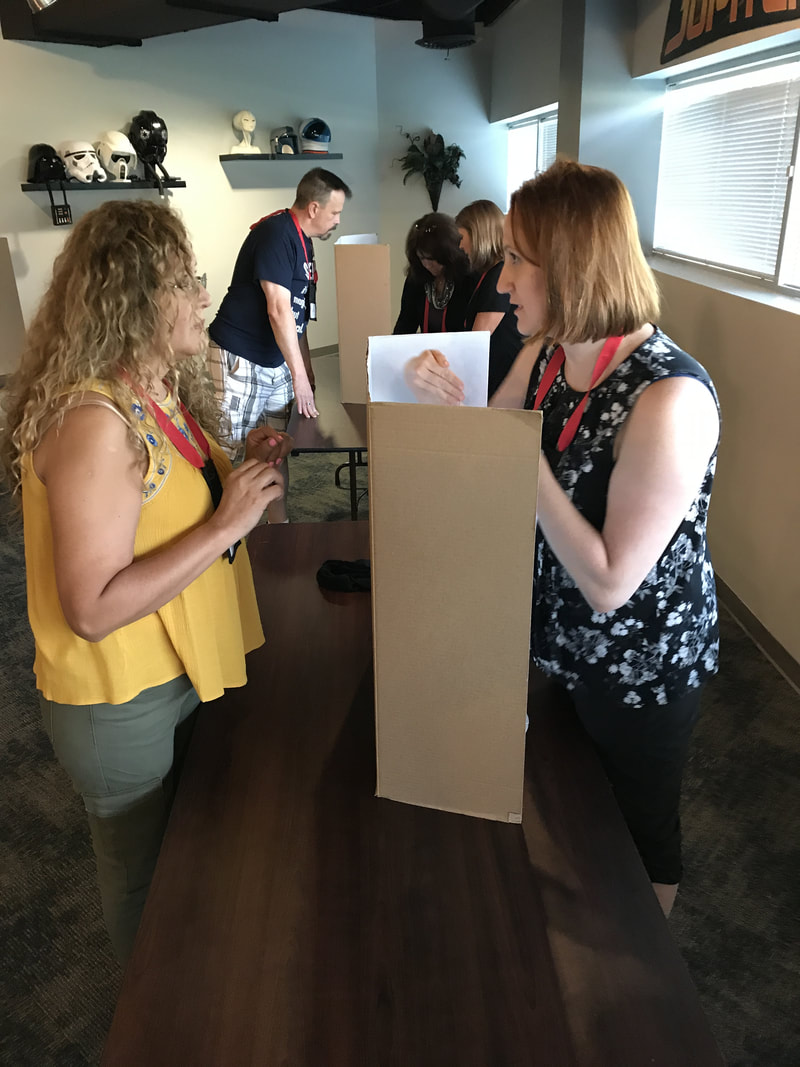
- cannot view main build *If group is 4 members, there are 2 astronauts. One astronauts uses ONLY their right hand and the other astronaut uses ONLY their left hand. Room Set-up Example 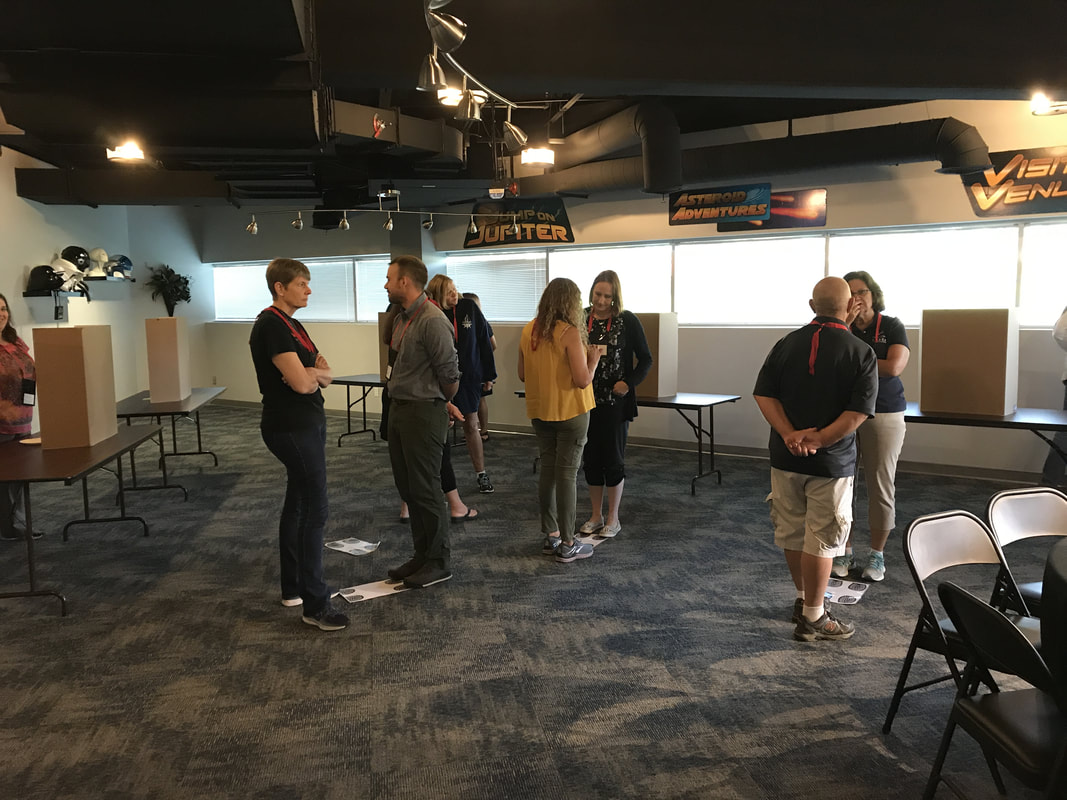 Engineer and CAPCOM are standing on assigned spots in center. Astronauts are at their workstations (behind tri-fold boards). Procedure 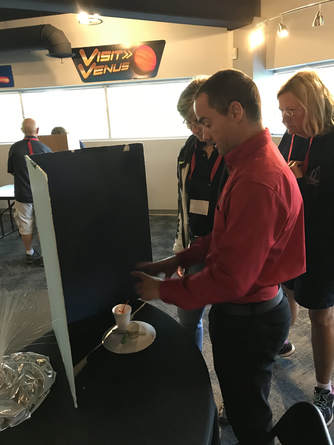 1.Flight Director builds something from materials available, behind their screen. *It's best to start out simple and gradually make the builds more complex. 2. Engineer observes build (once complete), heads back to spot and describes build to CAPCOM.
6. When team is confident in their build, Flight Director checks build and says yes or no* to indicate if build is correct. If build is not correct, team can repeat process above to fix. * Depending on groups, could say: Affirmative or negative GO or NO GO Check communication lines 7. When majority of groups are complete or after a specified time limit, student roles are reset. Flight Director creates new build and process repeats. Materials We used the following:
How can I adapt materials for my classroom? The materials can vary depending on your age group and what you have available. Each workstation should be on a table or desk. The key is to provide each workstation with some type of shield. The shield should be large enough so that hand gestures cannot be used to assist with build. Tri-fold or bi-fold boards work great for this, but you could also use a cardboard box. Each workstation also needs to have the same items used for construction. Do I need to use items that are similar to each other? The reasoning behind using 2 items that are similar is that it forces students to notice and describe what they see to their group members. If a student just said, use the cup, their group members wouldn’t know which cup. I hope this is awesome activity is one that you can see easily implementing in your classroom and sharing with others! All photo credits go to my fellow TL Denise!
Be sure to virtually visit tomorrow for Day 2 of the Space Across the Curriculum Series :) Peace, love and space exploration, - CAPCOM Conrad |
AuthorApollo 13 fan. Educator. Lifelong Learner. Third generation Boilermaker. Space Exploration Enthusiast. Collaborator. 
Click Subscribe to stay updated!Archives
July 2022
Categories
All
|
 RSS Feed
