|
The Golden Record has a collection of songs, sounds, greetings and images of Earth. So, each student chose a song, sound, greeting and picture to represent them. They put all of this information on a website that they created. Next year, we’re thinking it would be a good fit at the beginning of the year. It allows you to learn more about your students, so it would be an awesome getting to know you activity. It is also a great way to embed digital skills with content, especially since our 6th grade students are going 1:1 with Chromebooks next year. Students used Google Suite products (Google Classroom, Google Slides, Google Drive, Google Docs and Google Sites) to share their information. If your school doesn’t use Google products, there are other ways, but Google is the most user friendly. We used the Science Learning through Engineering Design (SLED) structure, mentioned in previous blog posts. The great thing about the SLED structure is that it has both an individual component and team component, so students get to share their voice, but also need to learn how to collaborate with others for a successful product. It’s not just a science project. It also involves language arts, social studies, technology and engineering standards. It is a very student-driven project. We were guides and facilitators. We would begin each day with a recap of what we’d done the previous day and what student tasks needed to be completed. Mission ObjectivesHere are the objectives that students were working on achieving by the end of the project. Content and language objectives are part of the SIOP Model, which is to help educators meet the needs of English Language Learners. I've also found that it's a great way to begin a lesson and allows for consistency. I have different students read the objectives. When planning a lesson, it helps me pinpoint what exactly I want the kiddos to do. I think it also helps the kiddos be in the know. For big projects, I write a set of objectives that I want the students to meet by the end of the project. I don't write separate ones each day. Content Objectives: (What are we going to learn about?)
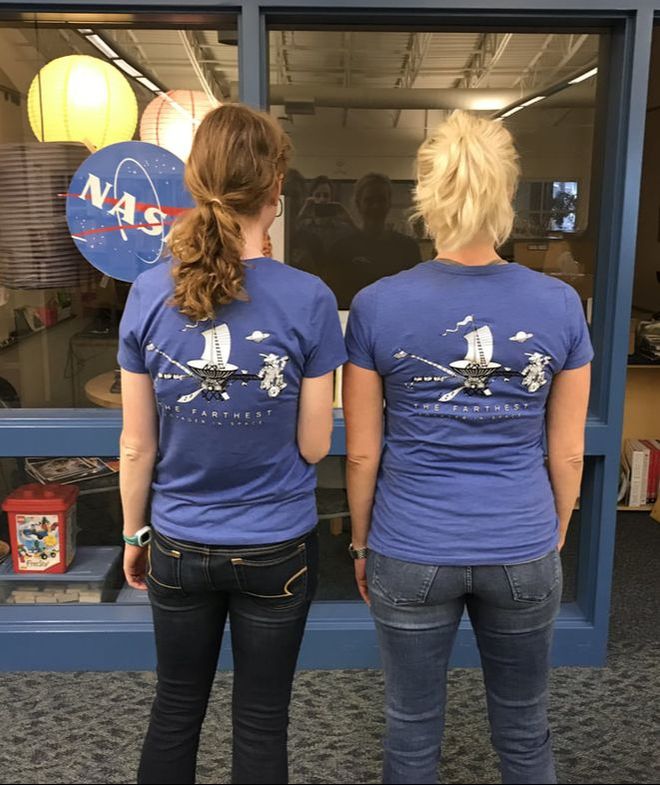
Day 1> Design brief - Paragraph summary of background information related to the challenge. After students read the design brief, they are able to identify the following elements listed below. > Identification - Problem, Goal, Client, End-user, Criteria, Constraints > Individual Design Chart - 3 potential options for each category (song, sound, picture and greeting) and reason for each option. If you run out of class time for students to work on this, it would be a good homework assignment. It's all about them and their opinions, so it's not something that they need explanation or much support. Day 2> Finish Individual Chart, if needed > Team Brainstorm - The focus was on sharing ALL of their options for ONLY one of the four categories (image, song, sound OR greeting) from their Individual Chart. We told students to choose a category that they were having a hard time narrowing down to one option and would benefit from feedback. Each student had uninterrupted time to share their options from their chosen category. This was followed by warm and cool feedback statements from group members. > Create Google Site -> Each lab group created one Google Site. Each group member got one page on the group site. Students had to create a descriptive title. Add ALL group members as collaborators. Add one page/student in the group. Day 3> Work Time - Individual Design Tasks Students worked through a checklist and had specific components for each category (picture, song, sound and greeting). Students were able to view Screencastify video demonstrations to help them with these tasks, if needed. Day 4> Work Time - Individual Design Tasks continued Day 5The Documentary is available to purchase on the PBS website or you can watch it on Netflix, Amazon or iTunes. We did not have time to watch the documentary, but it is a great resource. It is ~97 minutes long. **Depending on the age of your students, be aware that there are images of the human body and reproductive system at minute 9 and minute . It would be good to watch before the unit, during the unit (15 mins/day) or afterwards as a wrap-up activity. > Reflection - Journal Entry Questions > Web Design Reveal - Students had their website pages up on their Chromebook screens. Students rotated to another group member's seat and reviewed their website page. They were able to listen to the song chosen. Students shared warm and cool feedback on post-its. Warm and cool feedback is something we'd working on before. Warm feedback is a statement that starts with I like how... and provides positive observations of the work . Cool feedback is a statement that starts with I wonder if... and provide ideas for improvement. 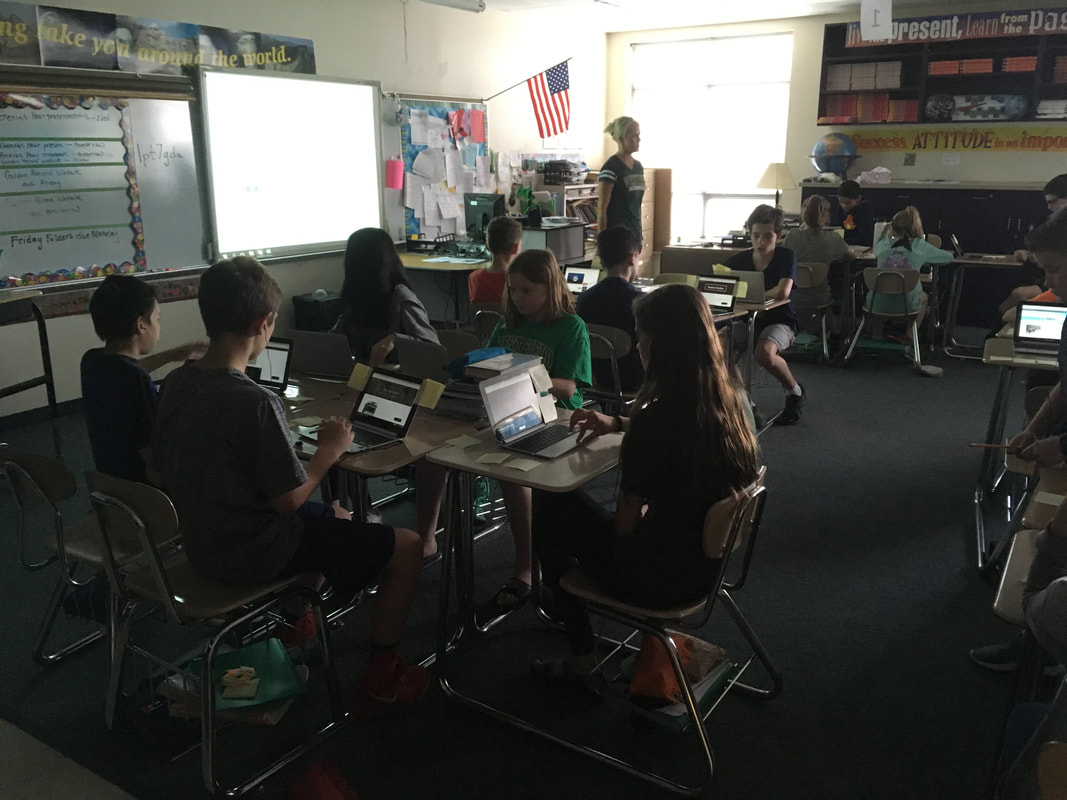 Web Reveal in Action 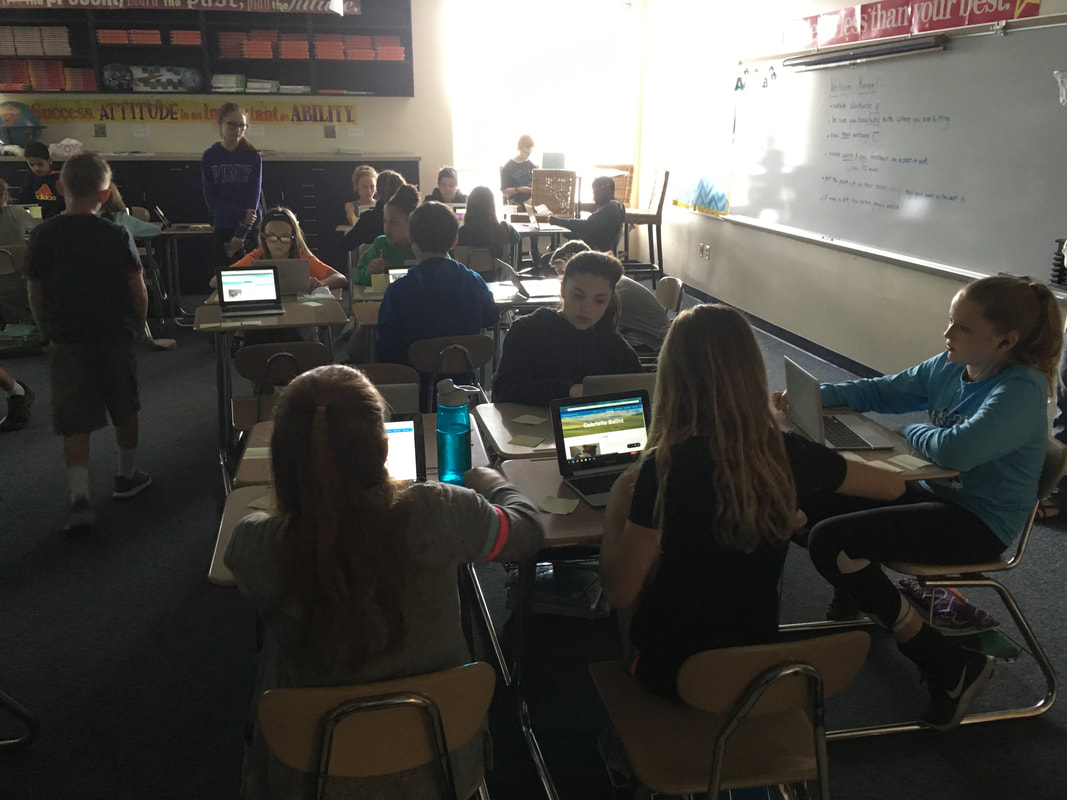 Students evaluating websites and providing warm and cool feedback. The best part of the project was reading student reflection after the project. Students answered questions in a Google Form. Some questions were rating scales, but we got the most information from were the open ended questions. I was so impressed with the thought and consideration that they put into their answers: - Before this design challenge I... - After this design challenge I... - How would you describe this project/what you learned/were able to do? Here are some student statements to answer the last question. "This project was definitely one of my favorites this year. I loved how you got to mix your personal life with a awesome space project. I learned how to use google sites, and I learned space and many other things can tie to you in many ways." The logbook, video demonstration links and The Farthest- Voyager in Space Documentary questions will be added to my TPT store.
Peace, love and space exploration, - CAPCOM Conrad
0 Comments
I have learned a tremendous amount throughout this past week with the Voyager Design Challenge, as I know the JPL scientists have been learning from the Voyager Spacecrafts themselves. The digital tools and skills are a work in progress, as the development of the Voyagers were. Despite the lack of familiarity or experience with the digital requirements students have been asked to complete, they have problem solved and persevered to create their own time capsule and piece of a golden record. Helpful ResourcesThis is a great one-stop for all Voyager information from NASA JPL (Jet Propulsion Laboratory) , home of the Voyager missions. 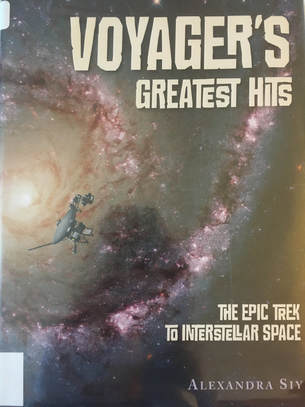 When searching for books about the Voyager, there aren't many, especially for kids. I found this at the library and after reading it, decided to purchase it. A great PBS documentary available to purchase or watch on Netflix, Amazon Prime or iTunes. I am thankful to have received a copy of this on DVD at Space Center Houston's Space Exploration Educator's Conference (SEEC) in February. I'm working on creating discussion questions that you could use in your classroom. key things to a successful voyage1. Co-teaching It’s true what they say about two heads being better than one!Being able to brainstorm, problem solve and learn along the way made this the best experience it could be for the kiddos - and us, teachers. I’m not saying that we didn’t experience challenges, but we were able to tackle them. Collaboration is key. It also helps having another teacher to be able to answer student questions and work with them one-on-one.
2. Set the stage Kiddos are curious when things change. This curiosity gets them to ask questions and be engaged in the project as soon as they walk in. They get excited about artifacts, books, posters and attire. The posters were printed and set up so students could see them as they walked in and grabbed their logbooks. On Friday, Paul brought in his equipment and helped set this up. Jaime and I cheered when we were able to hear the UN Secretary General speaking. The kiddos walked in and immediately walked over. Some knew that it was a record player. Others had no idea. They thought it was cool that we had the Golden Records playing. They even started dancing to a Bach Concerto! It definitely made my day :)  I was ecstatic to find a Golden Record set from Light in the Attic Records. The set came with 3 LPs, a booklet with all of the images, list of sounds and song sand the greetings in 55 languages - translated in English. 3. Structure We planned the project to use the SLED structure that students are already familiar with to guide them through the process. This simple structure allows students to dig deeper, search for information and promotes design thinking. Students also have to evaluate and defend their ideas. The Innovator’s Compass and LAUNCH Cycle were also a part of the structure. As student’s completed tasks, they were moving through the LAUNCH Cycle phases. The last phase is to LAUNCH to an Audience, which students do through their creation of a website. The Innovator’s Compass was a helpful tool for students during the Navigate Ideas phase. We started each day with a video clip related to the mission. We made an example of the final product for students to refer to, as needed. 4. Flexibility Since students are in the midst of standardized testing, classes were shorter than normal. This is one of the things we had to be flexible about because the kiddos needed time to create. The unit had overall objectives that students were working towards by the end of the project. After realizing that the students needed more help with completing the specific design tasks, we created how-to video demonstrations to provide a reference. We decided to extend the unit by a couple days so that students had more work time to finish the requirements. The kiddos have been excited to learn about the Voyager missions and more specifically, the Golden Record. My next post will be more specific on each day of the unit, as students are still working on it now! I hope you’re intrigued and find the resources and reflection helpful. I’ve had a blast co-teaching and seeing the kiddos’ enthusiasm. Oh, the power of space exploration education! Peace, love and space exploration
-CAPCOM Conrad Three great qualities for educators and students, but also the name of three Mars Rovers!  Recreating the Martian surface for Mars Rover Races. In my new and unique position as an Innovation Specialist, I have been able to embark on missions with several 6th Grade teachers and students at my school. We've had a blast with JPL's Mars Rover Races activity! It is a kinesthetic way to introduce coding and involves communication, problem solving and collaboration. This activity was presented in a great session I attended at SEEC. I knew I wanted to do this activity, but I wasn't quite sure how to make it work in my school. After some trial and error along with resources from the PE department and support from Technology and Science/Social Studies Teachers, we did it! This activity is suggested for grades 5 - 9. It can be done in different class settings; homeroom, related arts or part of a specific subject rotation/block schedule. The biggest thing is course set-up. Modifications I made to the Original Lesson Plan:
My Lesson Structure *I worked with the students for 2 class periods, but I know all schools have different schedules and time available.
Session 1 - Background Information I used JPL's Mars in a Minute videos, which are awesome! These short videos are a great way to provide information in an engaging way. > After each video, students had to make a decision about what they just watched and explain their thinking with evidence. **Literacy connection. > Explain roles (Driver, Official and Rover) and assign students to groups (3-4 per group).
Session 2 - Coding the Course >Drivers (1/group) went to their assigned course (we had 2 of equal difficulty level). >They walked through the course and wrote down their code as they walked. Their coding involved directions (forward, backward, right, left) and a number of steps. > While drivers coded the course, I showed Rovers and Officials mission patches and then they designed their own. > Once all drivers finished coding, groups went to the course one at a time. > After completing the course, students evaluated themselves individually by finishing sentence starters and as groups by rating their performance in various areas and answering reflection questions.
Alternatives/Extensions/Additions On Paper or in Digital Format - Using graph paper or Minecraft, your kiddos could design a martian surface. Student A. *They would need to include craters and rock samples, but also leave space to get around the craters. - The design would be given to Student B who would write the code to get the rover from the start to the finish. - Student A would read Student B's directions to Student C. Student C would follow the directions on a blank piece of graph paper (or by pressing the arrow keys the number of times needed). - -The blank piece of graph paper would be placed on top of the martian surface design to see if craters were avoided and rock samples were collected. - - Students could record the data (number of craters hit, course time and number of rocks retrieved.) > Eventually, students could code a robot through the course. The Rover would be replaced by the robot, but the Driver and Rover could work together to code. The Official's role would remain the same. The students really enjoyed this and so did the teachers! It's a great way to get kids engaged and moving. There are so many follow-up activities for language arts, math, science and technology. I included some suggestions in my Mars Rovers overview above. I hope you're able to use this lesson at your school and find the resources helpful!
Peace, Love and Space Exploration, CAPCOM Conrad |
AuthorApollo 13 fan. Educator. Lifelong Learner. Third generation Boilermaker. Space Exploration Enthusiast. Collaborator. 
Click Subscribe to stay updated!Archives
July 2022
Categories
All
|
||||||||

 RSS Feed
